type
Post
status
Published
date
Mar 4, 2023
slug
stable_diffusion_webui_mac
summary
Installing Stable-diffusion-webui in M-chip Macbook pro
tags
Develop
Github
category
Learning
password
icon
Using Macbook pro to install Stable diffusion
This blog post shares the steps to install Stable diffusion on an M-chip Macbook pro for developers.
Prerequisites
Before you begin, ensure that you have the following:
- M-chip Macbook
- Git client installed
- Homebrew installed
Important: While this blog post provides steps to install Stable diffusion on an M-chip Macbook pro, it is recommended to use an RTX series GPU for better performance and fewer issues.
Steps to install Stable diffusion
1.Open Terminal on your Macbook pro. To install the required dependencies, open a new Terminal window and run the following command:
brew install cmake protobuf rust python@3.10 git wget
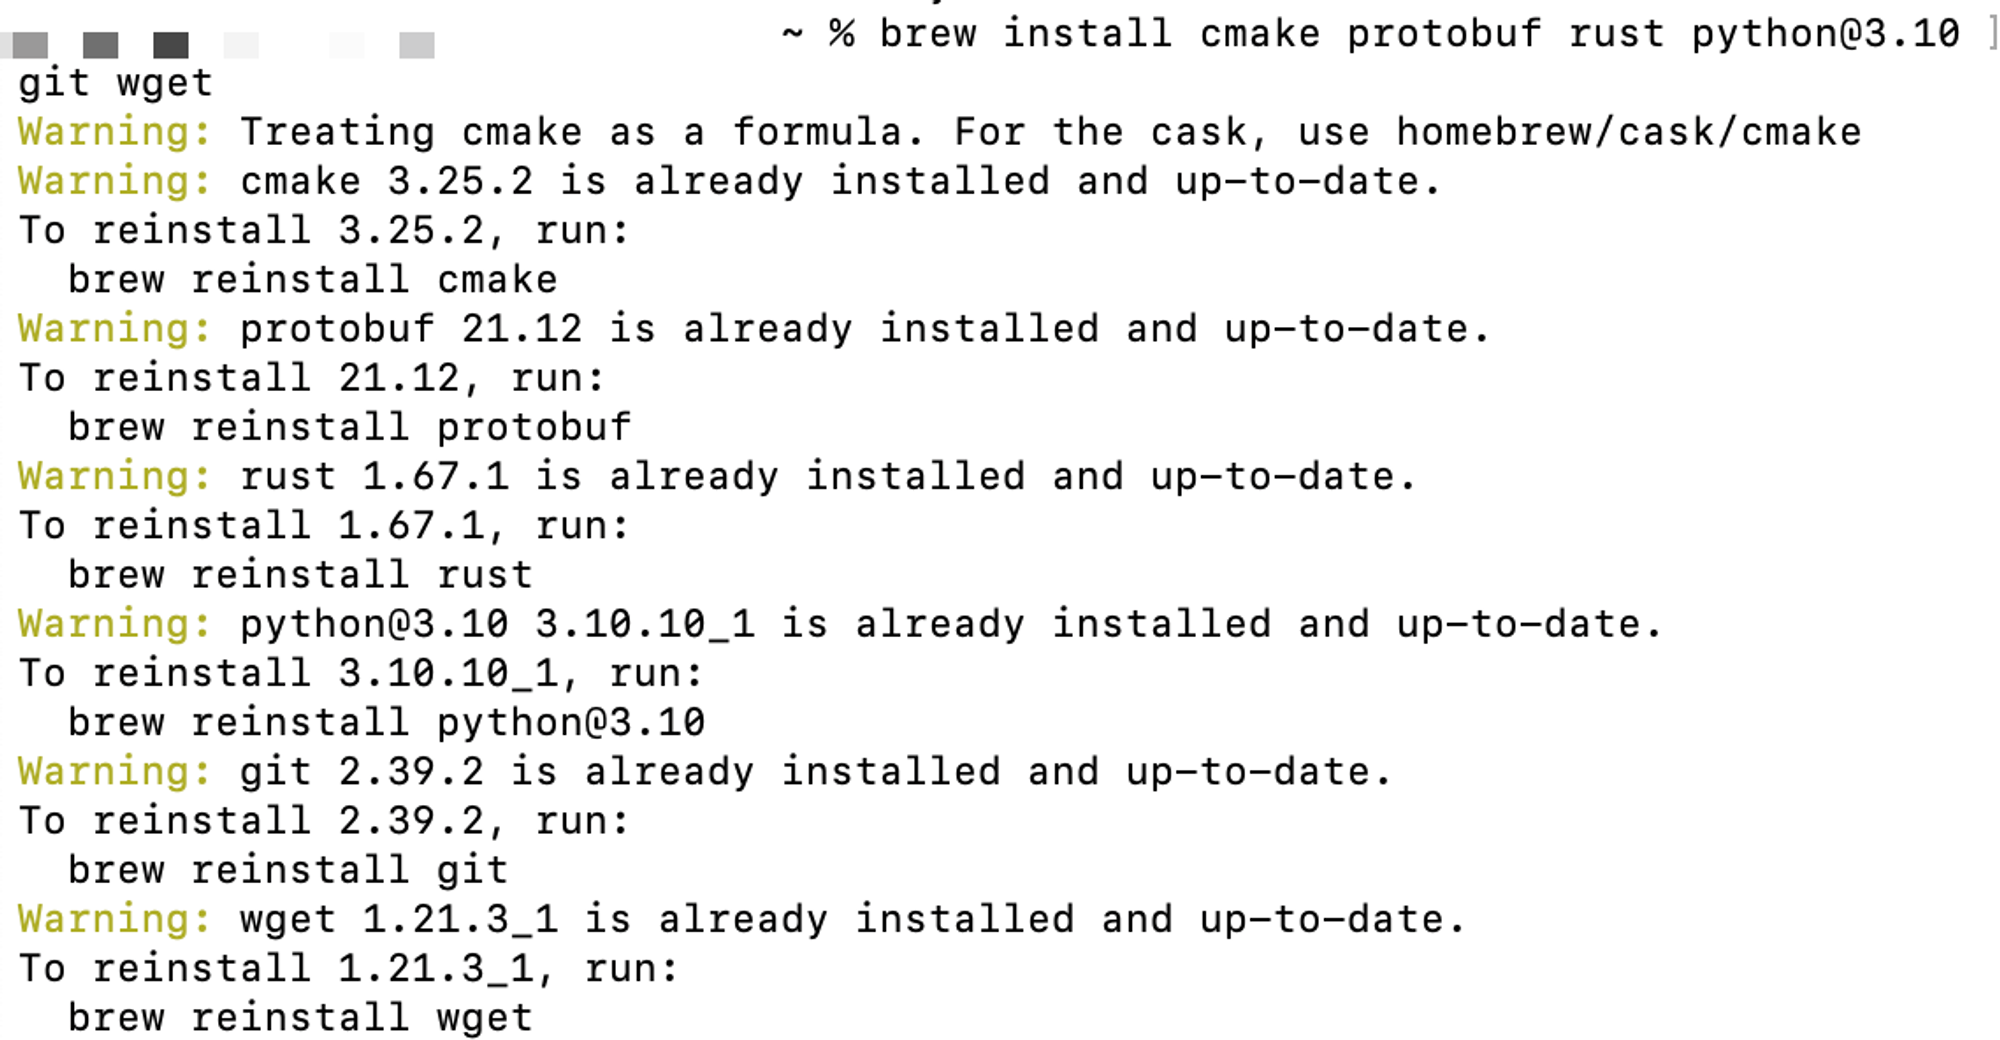
Here, I have already installed.
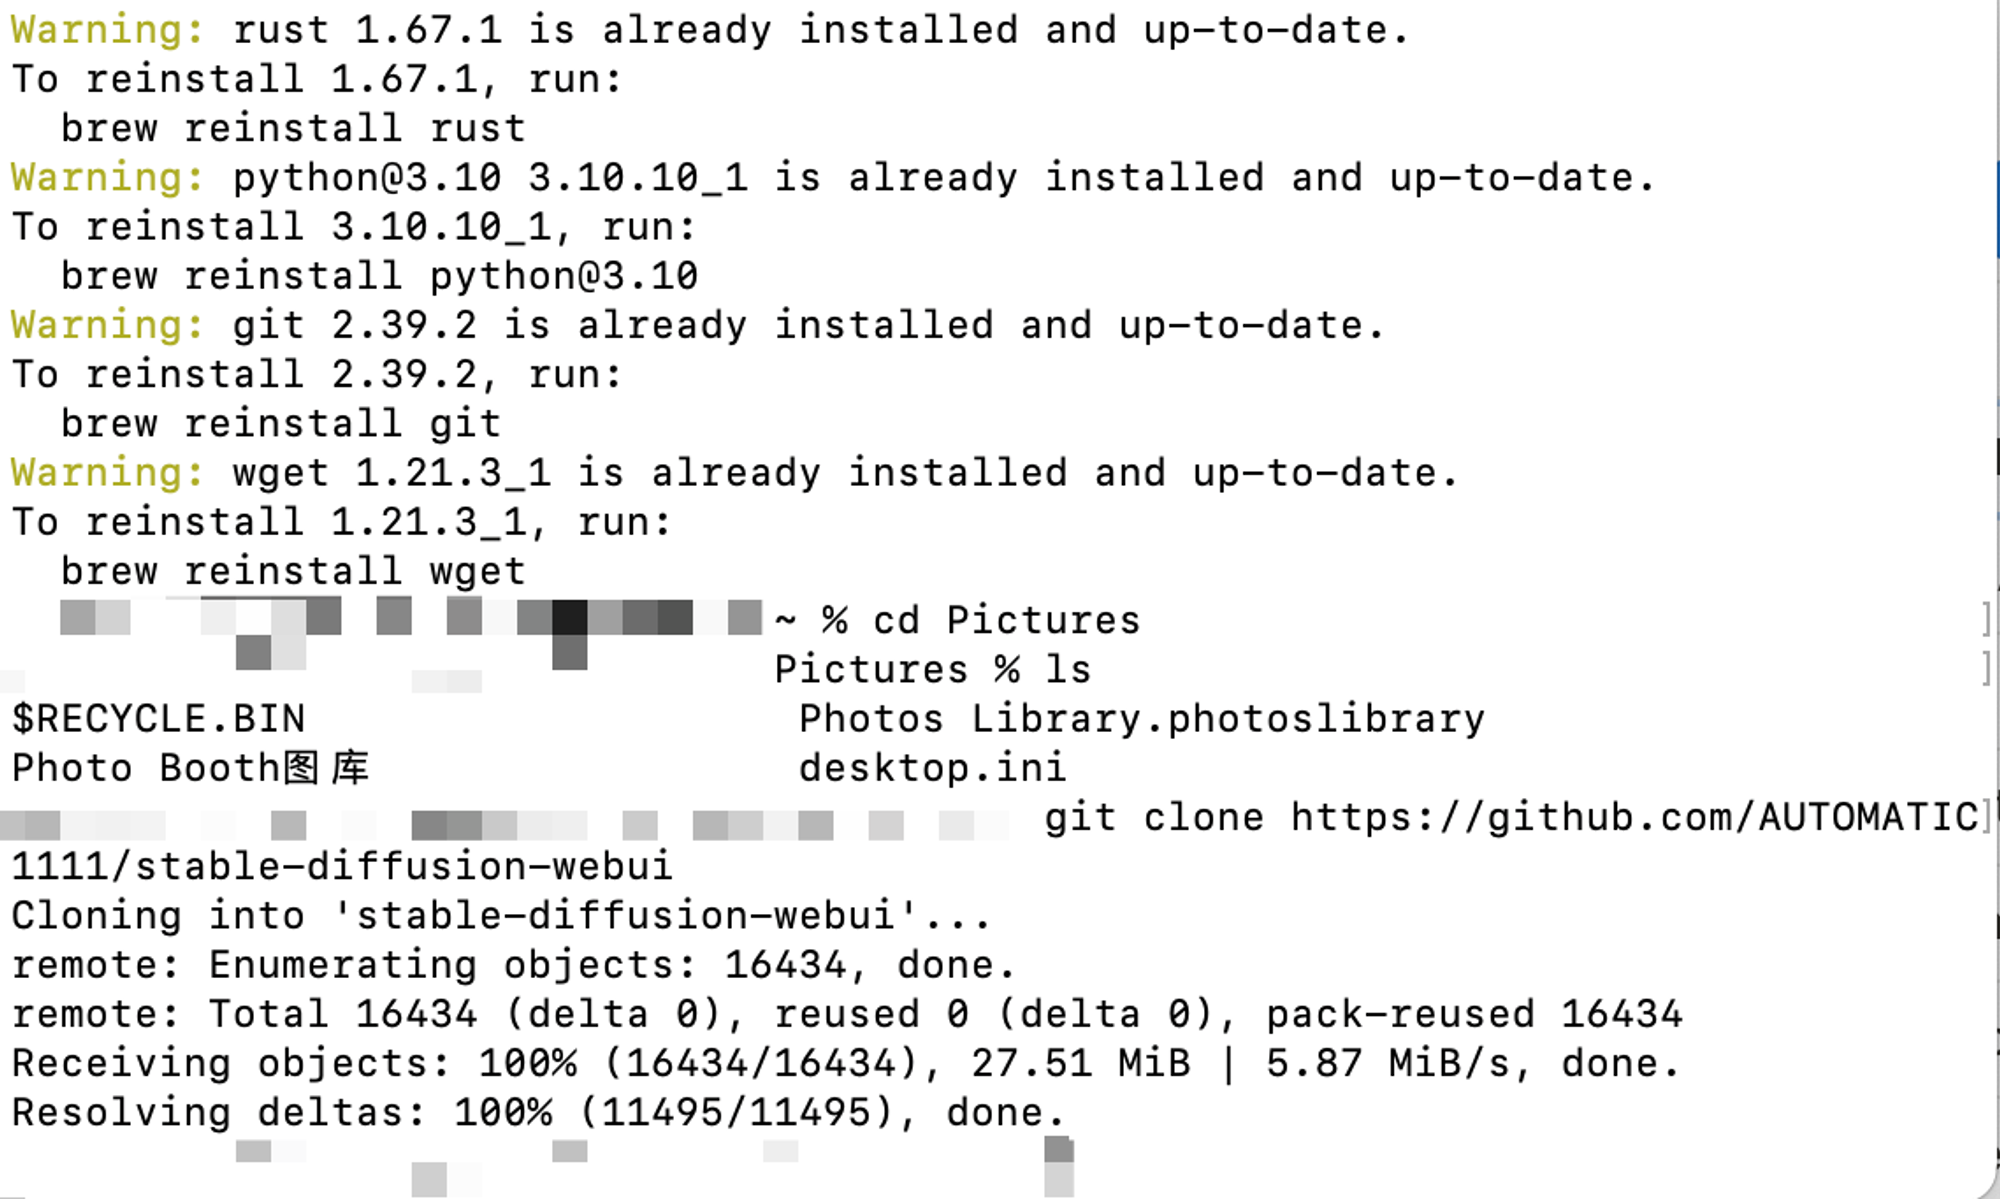
2.To clone the web UI repository, select the directory, and run the following command in Terminal:
git clone https://github.com/AUTOMATIC1111/stable-diffusion-webui
3.To place Stable Diffusion models or checkpoints you want to use into stable-diffusion-webui/models/Stable-diffusion, navigate to the cloned repository directory by running the following command:
cd stable-diffusion
./webui.sh
When running
./webui.sh for the first time, Stable Diffusion will automatically download and install a model.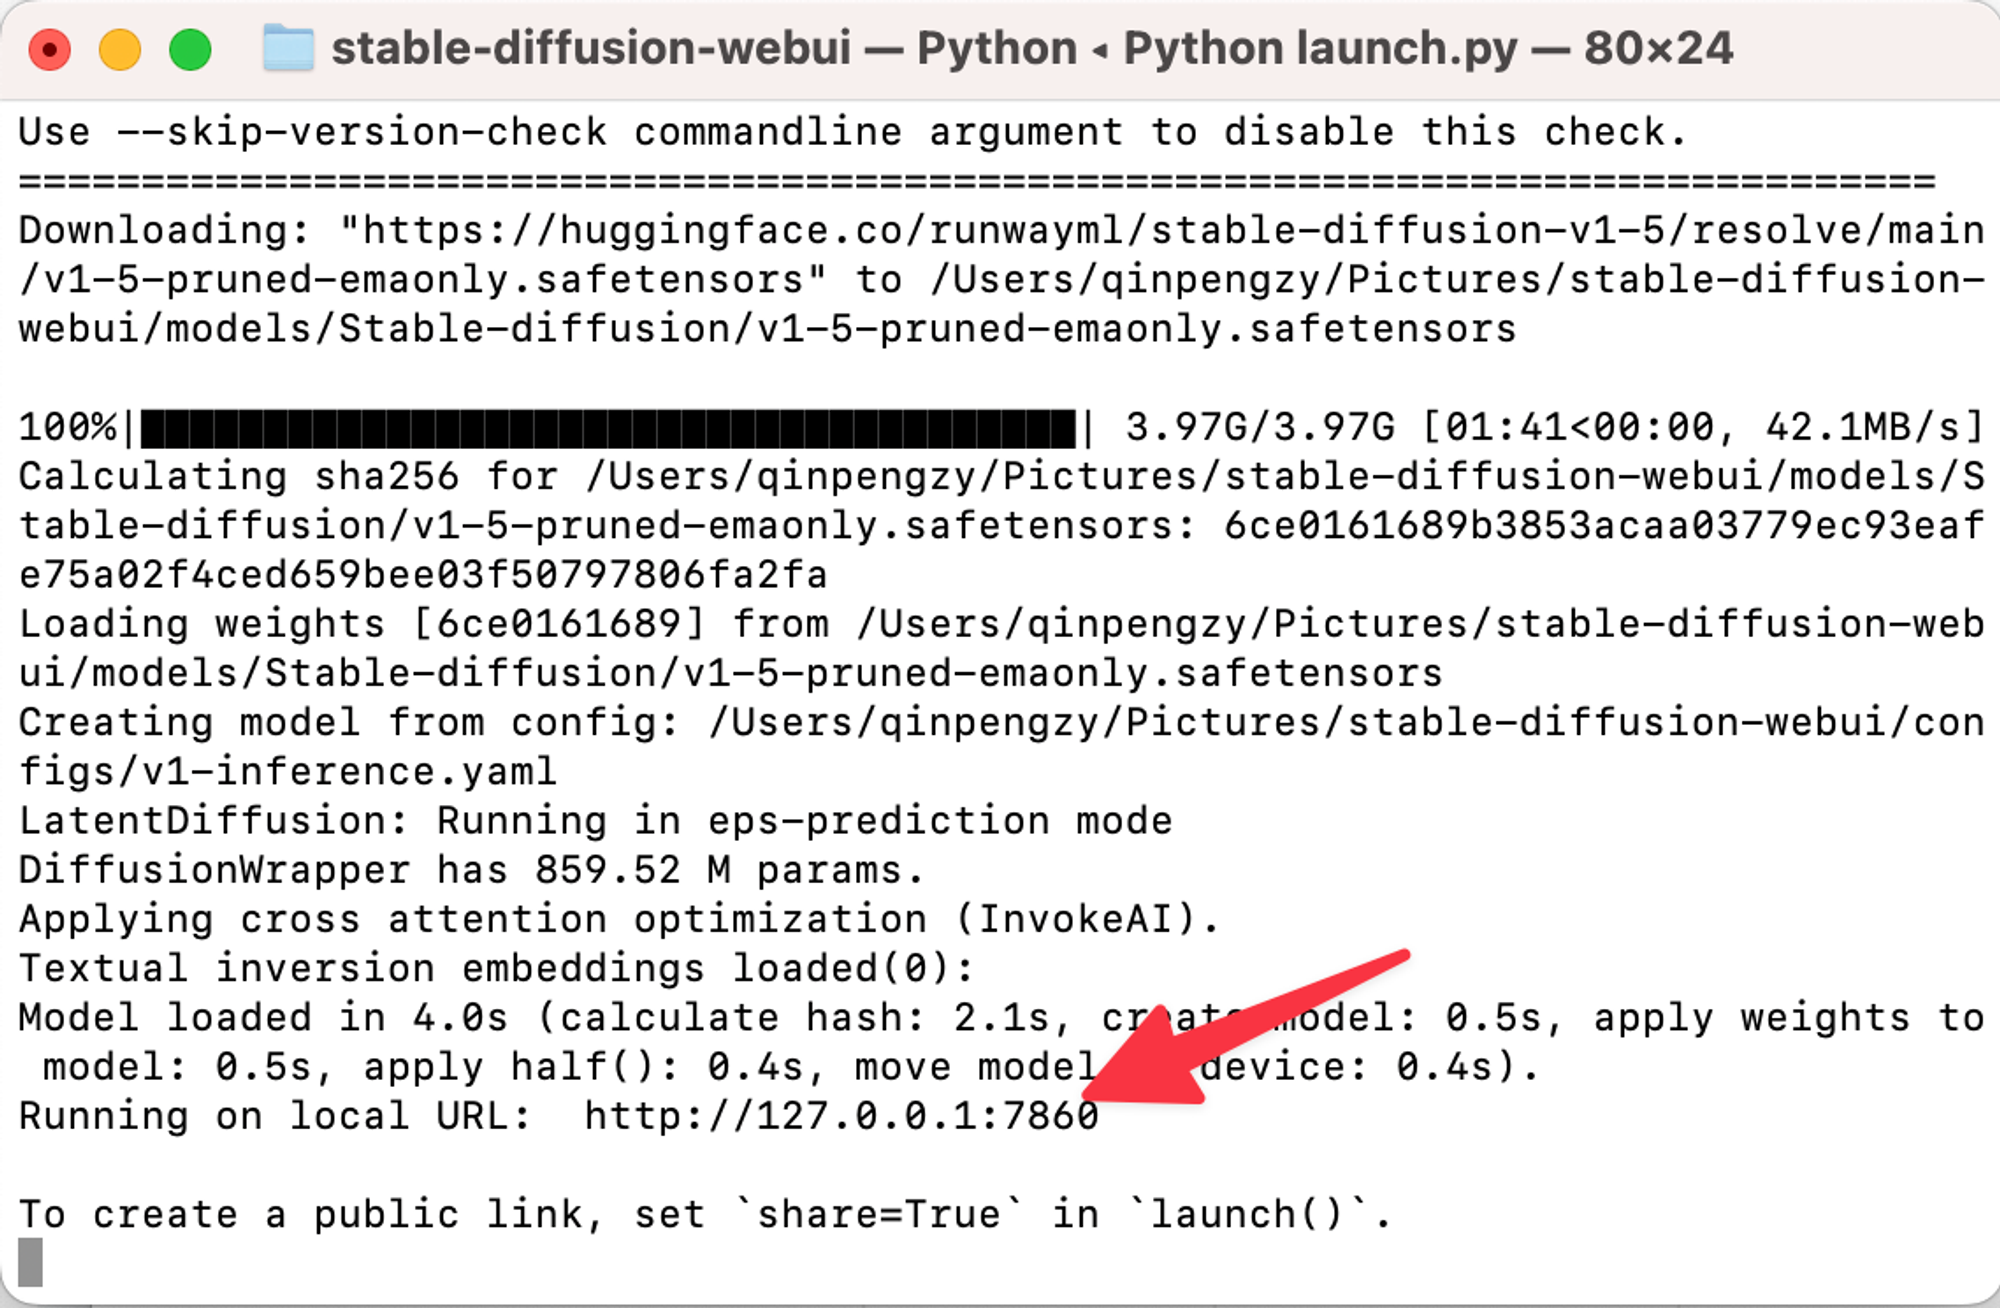
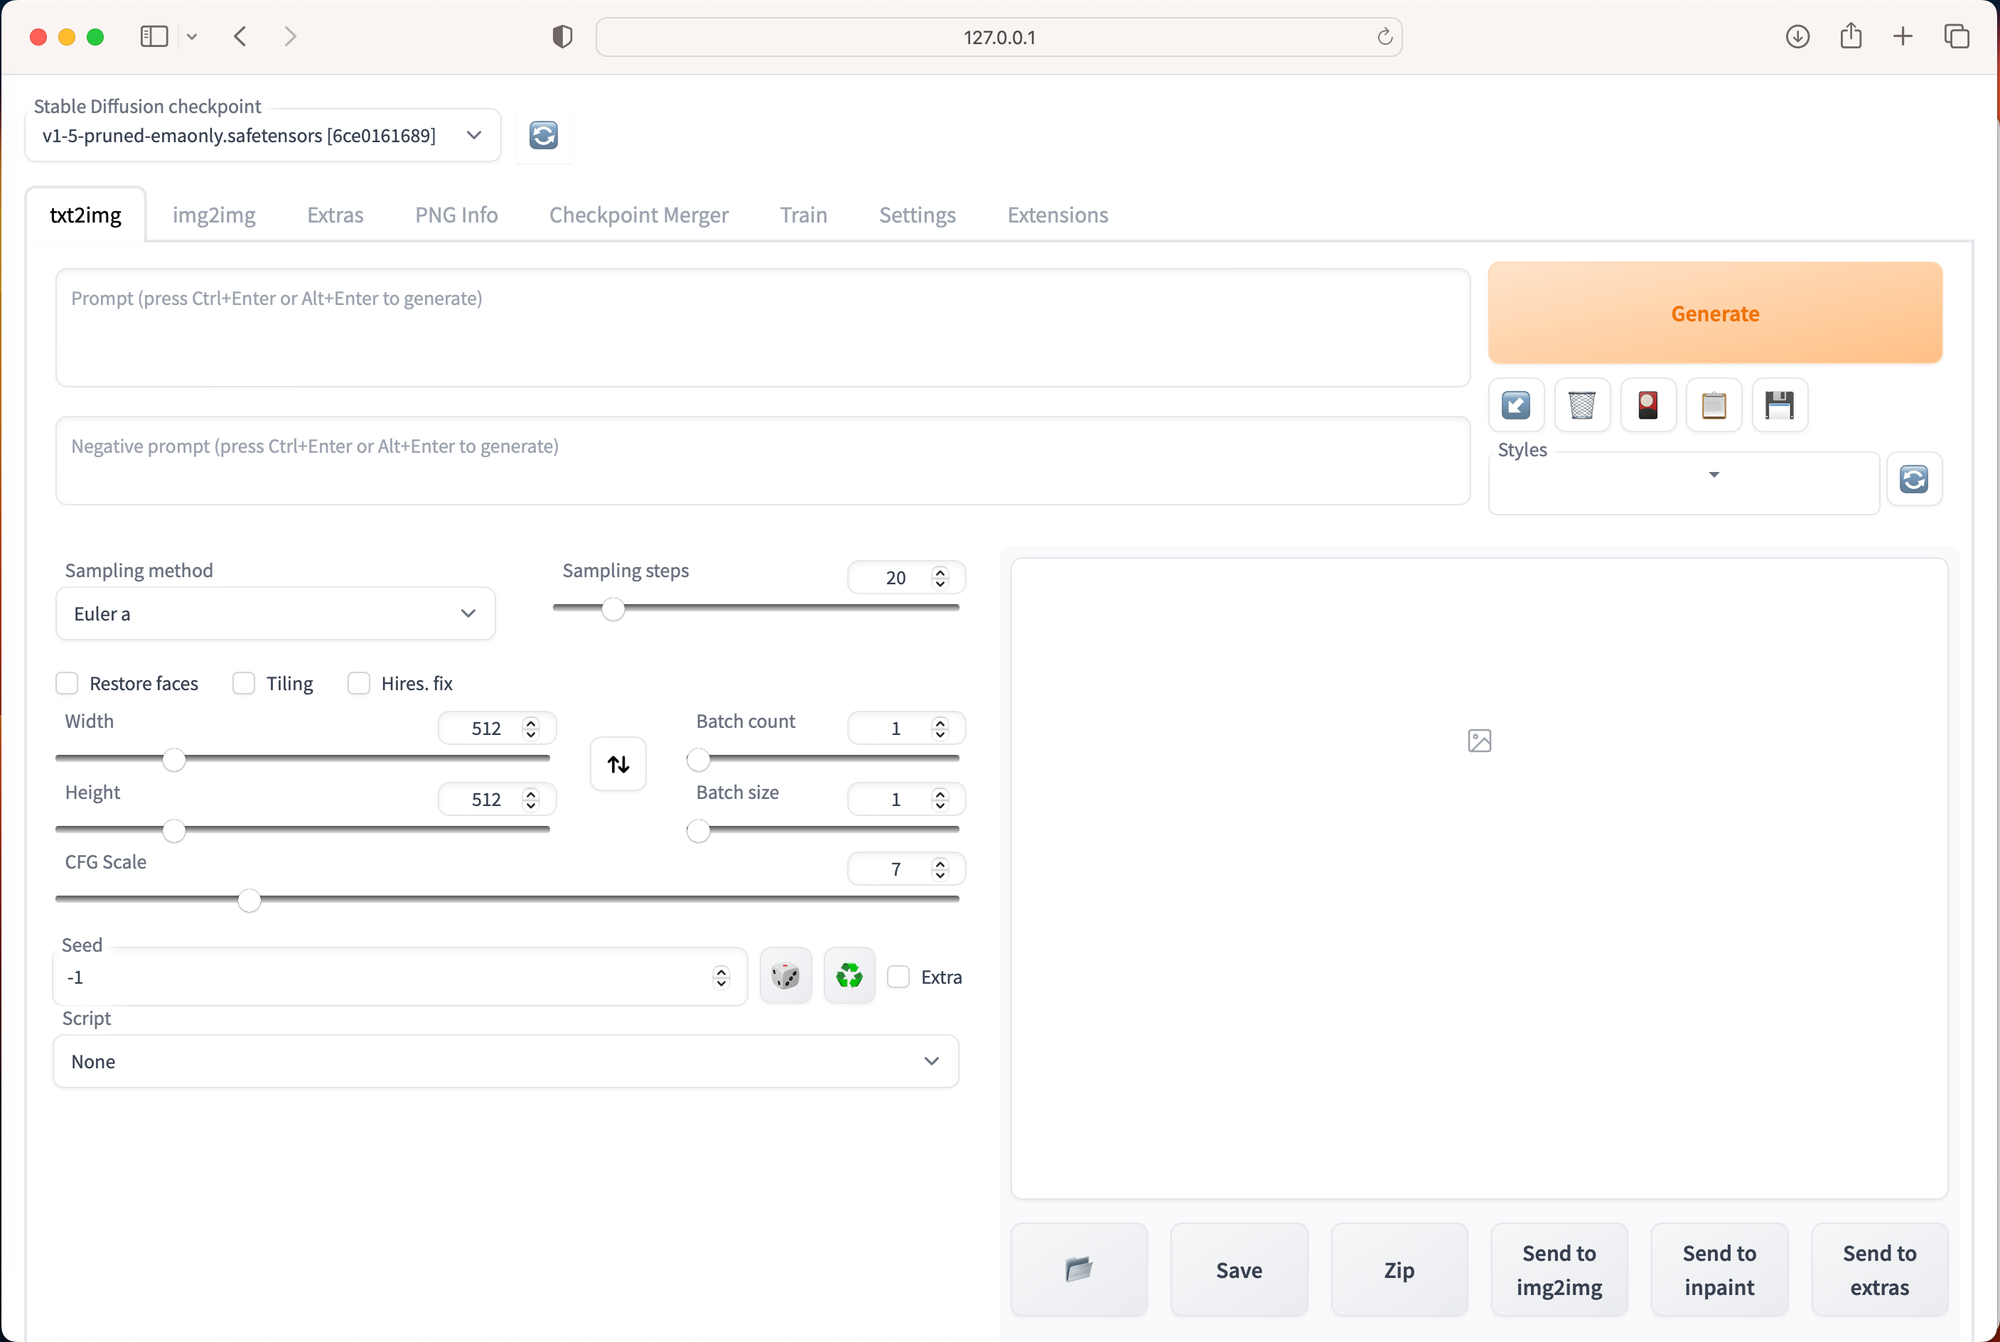
That's it! You have successfully installed Stable diffusion on your M-chip Macbook pro.
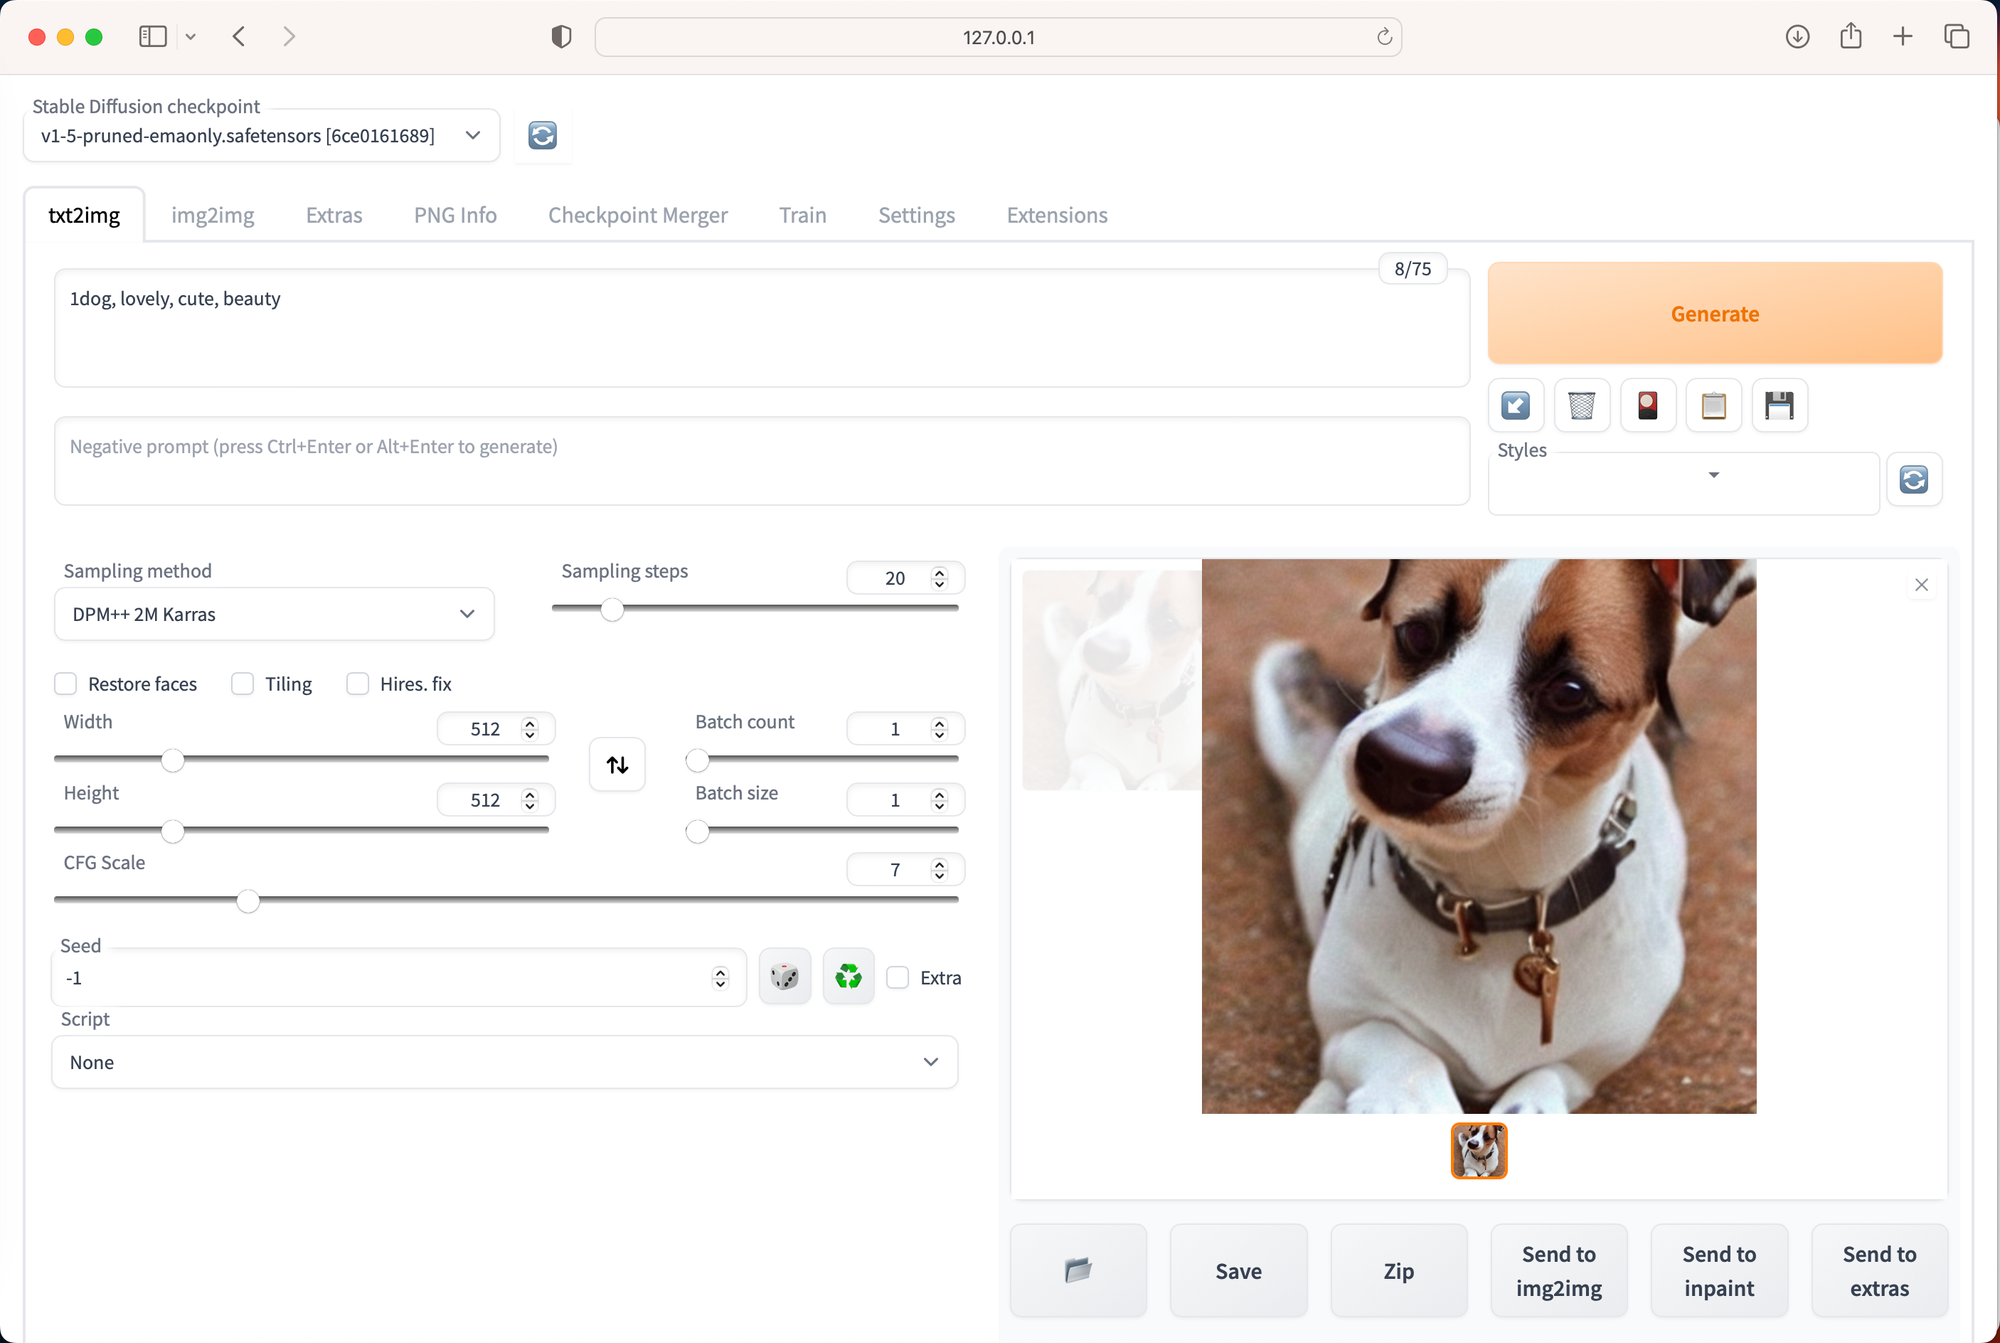
If you want to generate higher resolution pictures, using an RTX GPU will definitely help. For example in this Picture, I used M2-max Chip to generate, and it costs 8 seconds.

Conclusion
In this guide, we have walked you through the steps to install Stable diffusion on your M-chip Macbook pro.
- Author:Patrick
- URL:https://me.pennp.com/article/stable_diffusion_webui_mac
- Copyright:All articles in this blog, except for special statements, adopt BY-NC-SA agreement. Please indicate the source!
Relate Posts